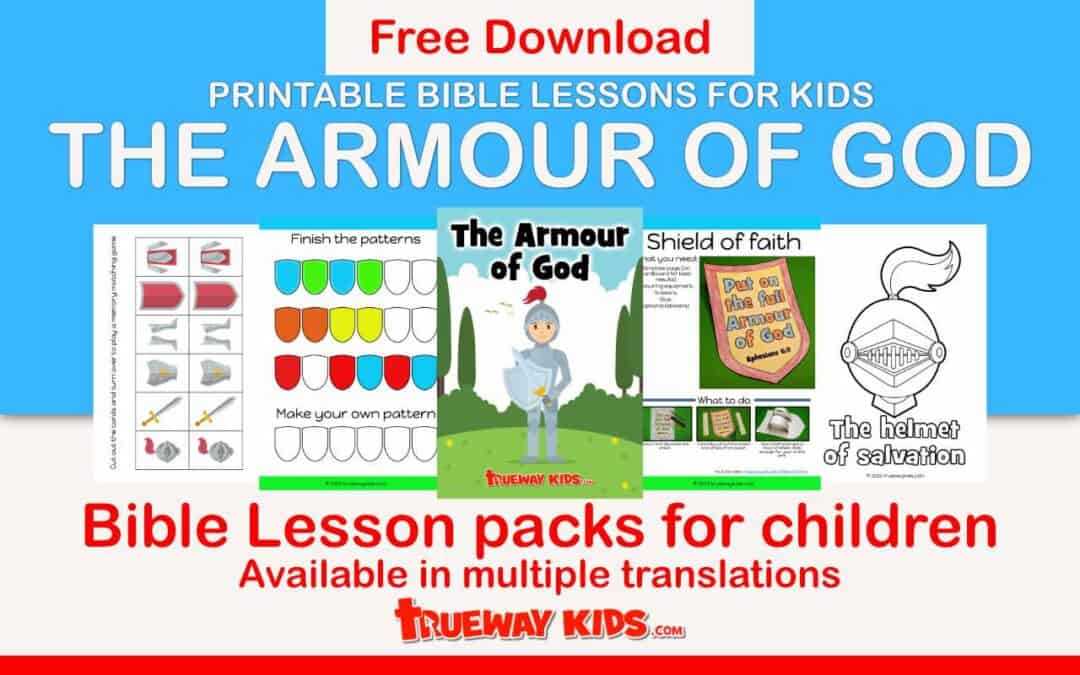
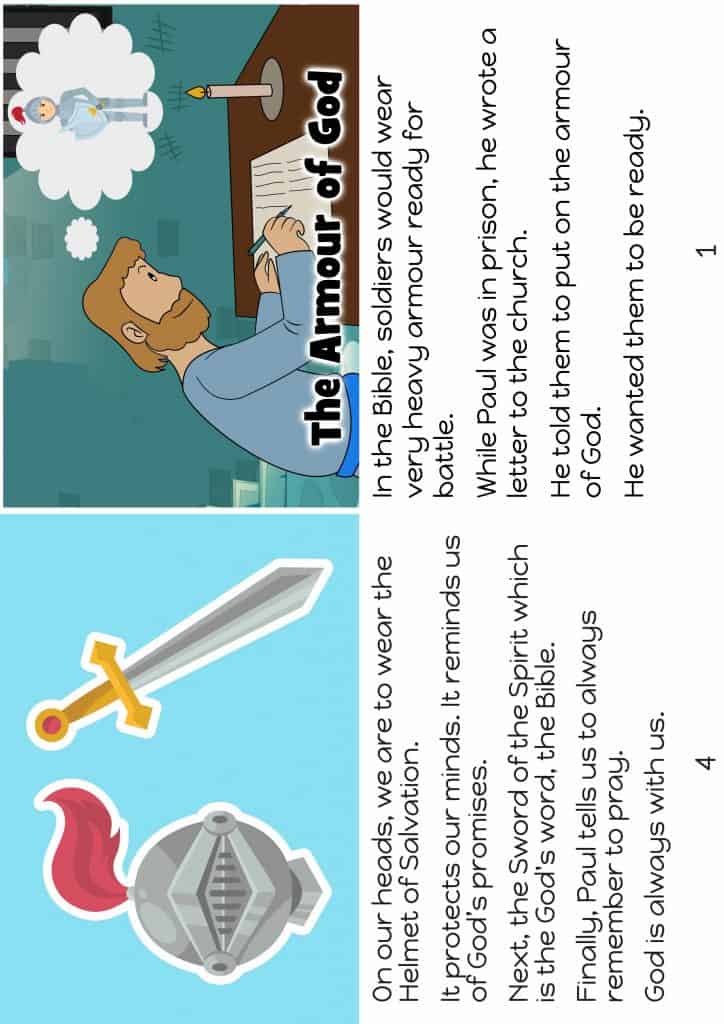
The Bible often uses physical things to teach us about spiritual things. One such example is Paul’s teaching on the Armour of God. The passage is found in Ephesians 6:10-20.
Key Points:
- We should put on the Armour of God.
- We can be strong in the Lord.
- We should pray always.

Lesson Guide – The Armor of God
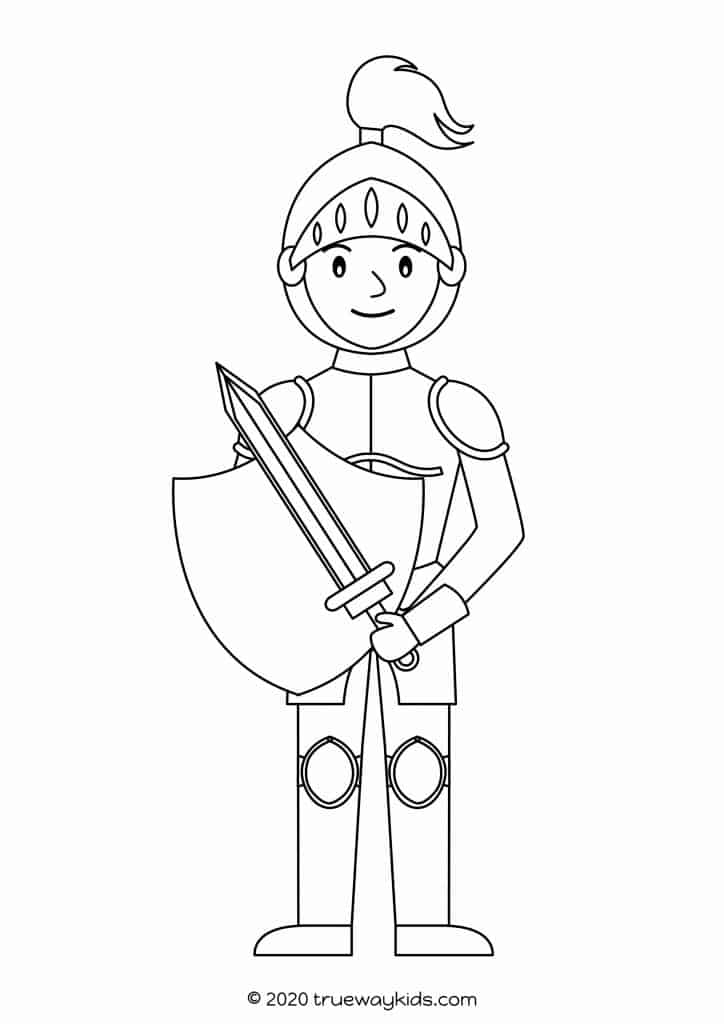
Talk about armour. Explain that it is worn by soldiers to protect their bodies when they are in battle. Look at pictures of different kinds of armour. Talk about what areas are most important to protect and which materials are most used. If the child is older, you may ask them to point out some of the pros and cons of the various armour (such as metal would be heavy or leather not as strong).
Make a batch of flavoured jelly. Allow to harden in either small containers or a large dish, whatever works best to end up with several thick pieces of jelly. Put each piece onto a plate and set them out on the table along with several “weapons” such as toothpicks, a butter knife, or wooden spoon. Allow the child to “attack” one of the jelly moulds. Point out how easily the jelly is destroyed by the weapons. Create armour out of tinfoil, cardboard, or paper. Check to see how well the armours hold up against the weapons. Now, take a metal measuring cup or bowl. Place over the top of the jelly. Allow the child to try to attack the jelly. Point out that the hard metal bowl created an impenetrable armour.
Point out that we can only be strong in the Lord and in His mighty power. Ask your child to pick up a heavy object. They cannot do it on their own. Help them by carrying the weight, and point out that with your power and strength, they can achieve what they could not on their own.
In order to solidify the various pieces of Armour and what they represent, you may do several things.
- Put the pieces to a repeating army song. March around having children repeat your words. You: “I will put” Child: “I will put”. You: “The full Armour of God” Child “The full Armour of God” …
- Use newspaper or other large pieces of paper and create paper Armour for your child. Decorate and write what each represents onto the paper.
- You may purchase simple plastic Armour (such as a costume) and write what each represents.
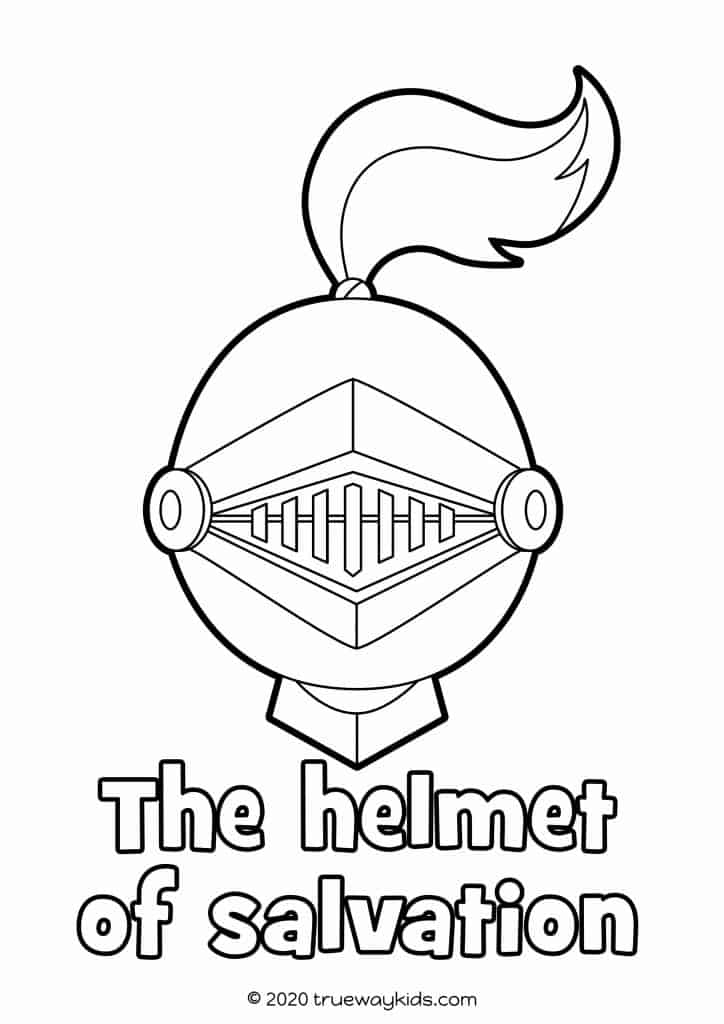
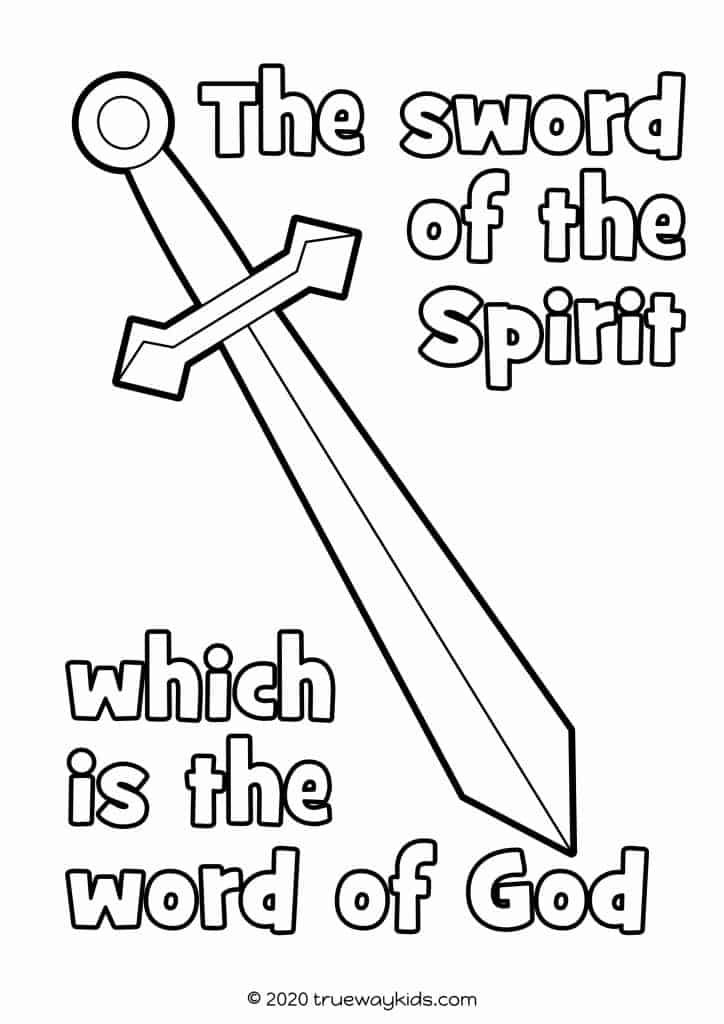
- You may create a simple routine of “putting on your Armour.” Pantomime putting on a helmet as you say, “I am putting on my helmet of salvation to protect my head.” For the sword of the Spirit, pick up the Bible.
Point out that God wants us to be prepared to serve Him.
This same passage tells us to pray in the Spirit on all occasions. Explain that prayer is a way to ask God for help and to talk to Him.
Ask your child who they would ask to help in different scenarios. Give them some wrong choice also, for example, “would you call a mechanic to help you bake a cake?” Remind them that God is all powerful and can help with any issue we may have.
Read Hebrew 4:16. Celebrate that God always allows us to approach Him in prayer.
Video Bible story for children – The Armor of God

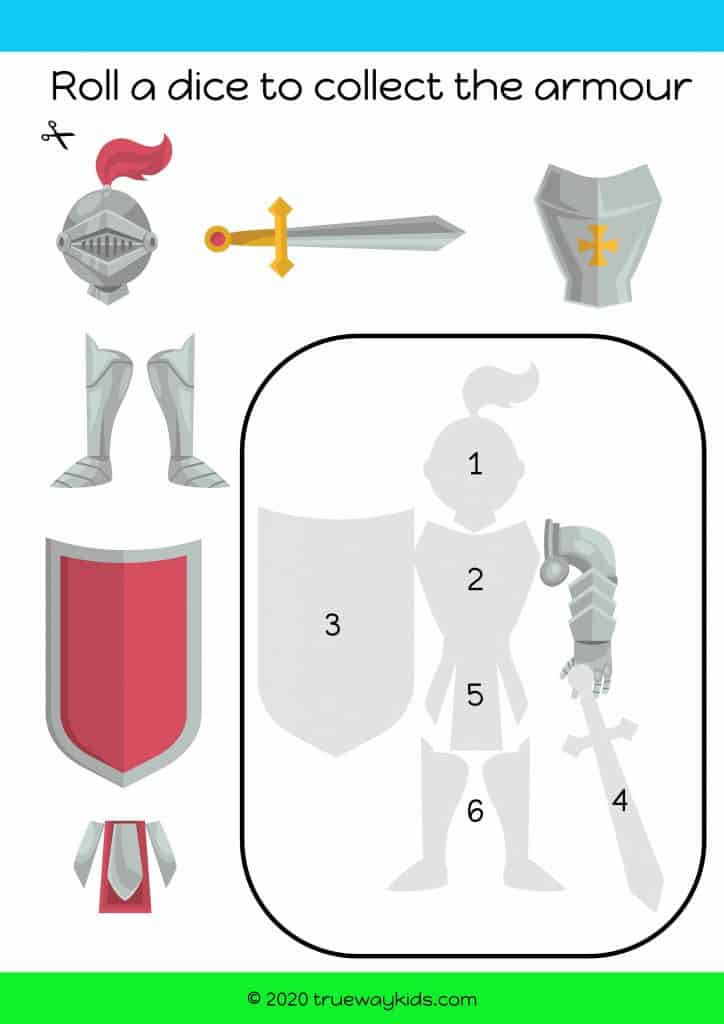
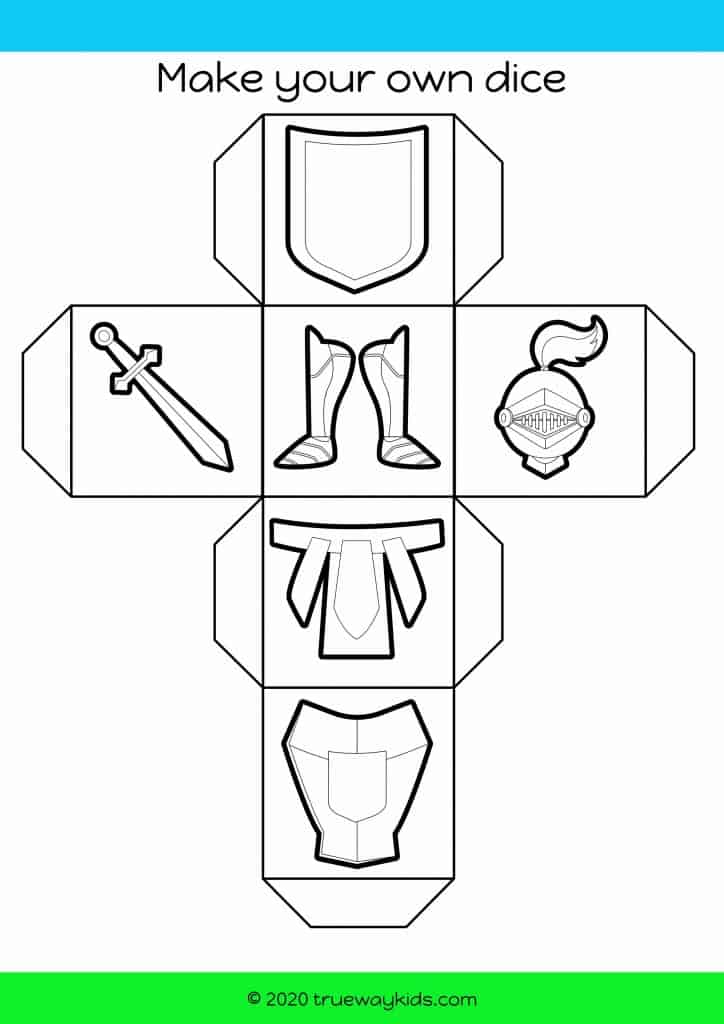
Games and activities

Create your own suit of armour
Turn your old cardboard boxes into a suit of armour for your child to wear.
If you don’t have time to make everything, just focus on one or two items. Think about how we can put on the armour of God and what each part represents.

Balloon Swords
Use some long balloons to create swords.
Allow children to play with the swords. Show how they can both defend and attack with a sword.
Speak about how a solider always had to keep their sword ready. Share how it’s important for us to know the Bible to be ready for anything.

Dodgeball (with shields)
In the version of dodgeball, we add shields which children can use to guard themselves. If the ball hits the shield they are not out.
If time allows, play a version with and without a shield. Show how it easier to avoid being hit with the shield. Reflect on the shield of faith.
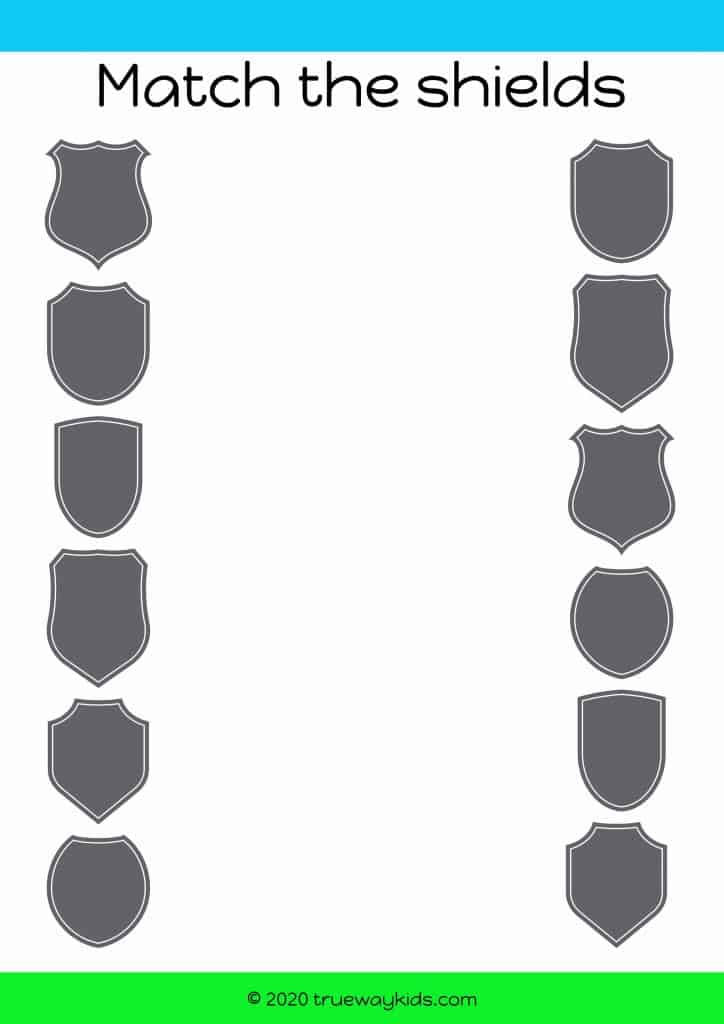
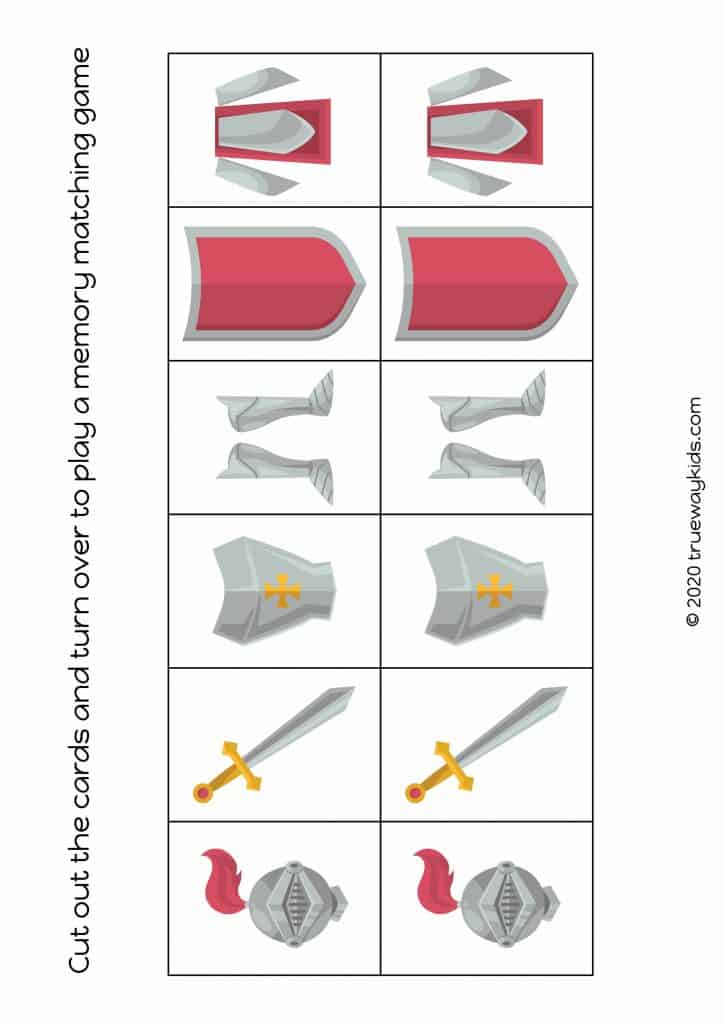
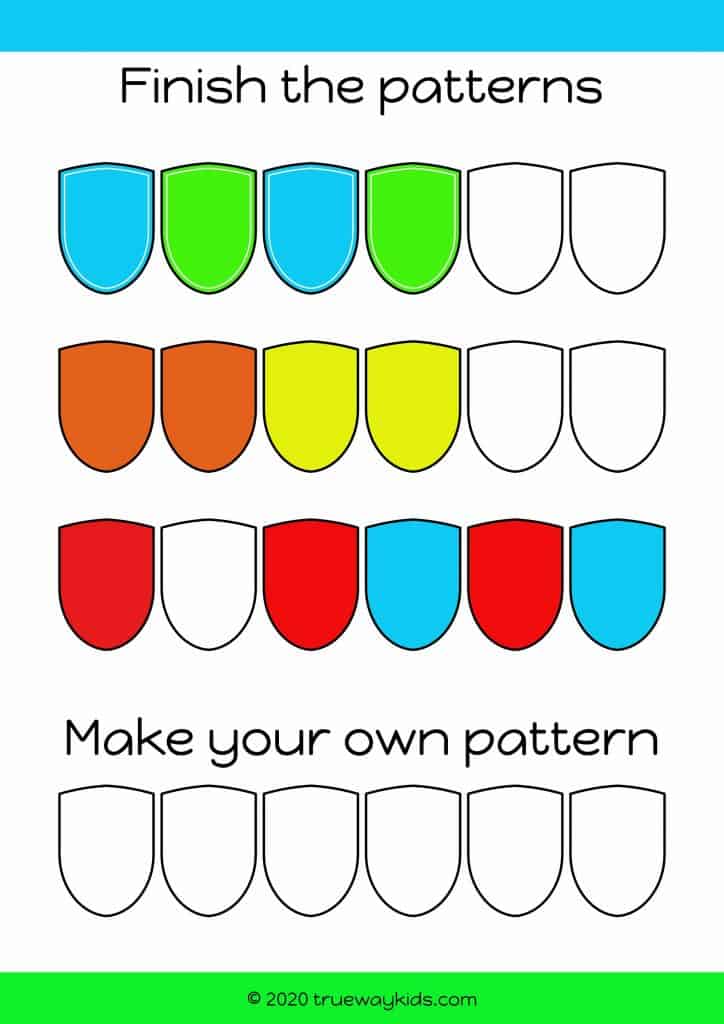
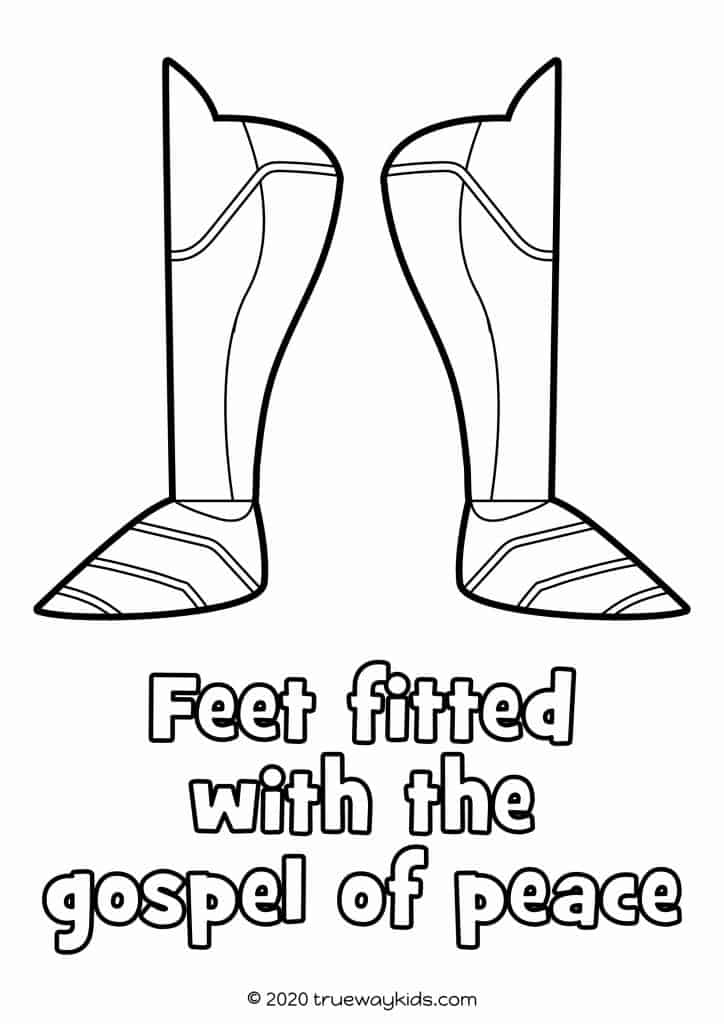
Worksheets
Free Bible Coloring Pages – The Armor of God
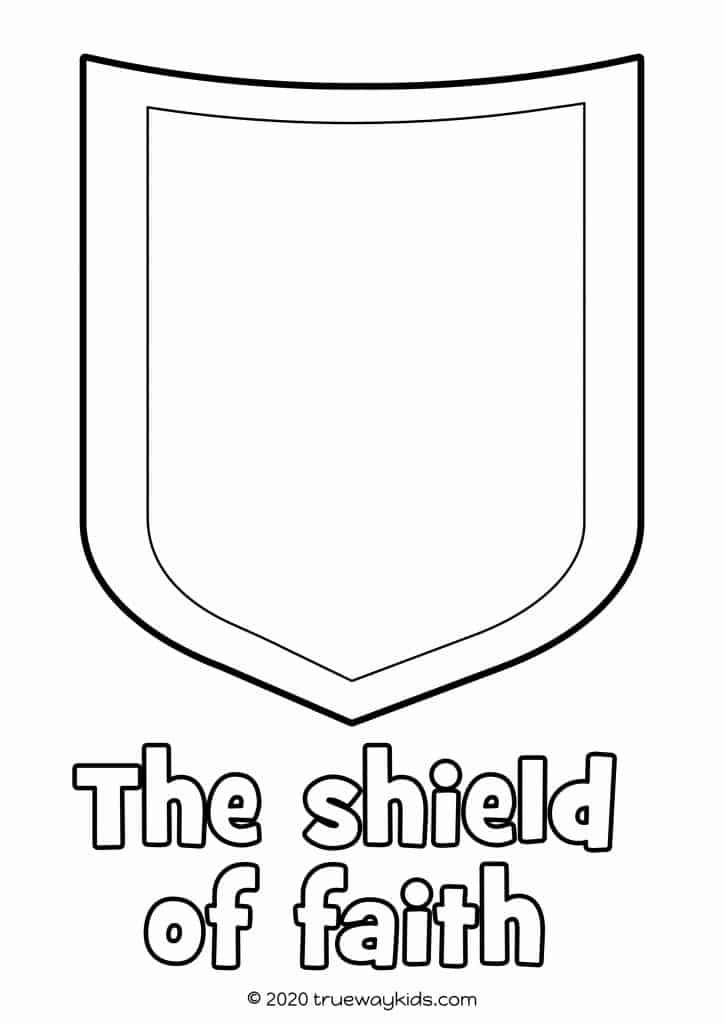
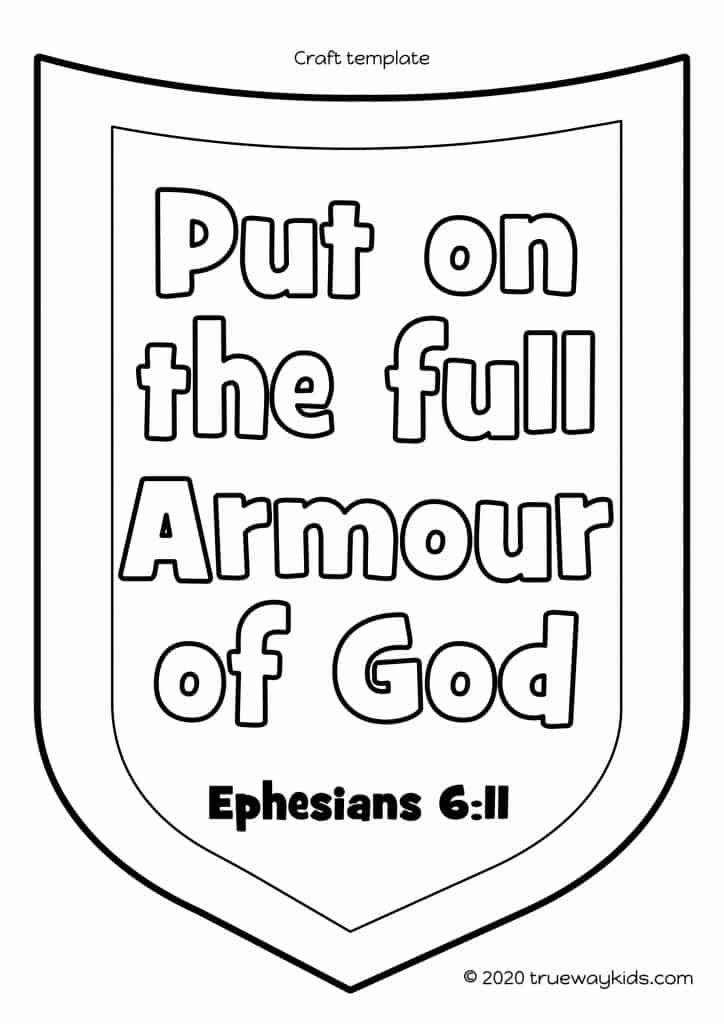
Bible Craft – Shield of faith
What you need:
- Template page (on cardboard for best results)
- Colouring equipment,
- Scissors,
- Glue.
- Optional (stickers)
What to do:
- Colour and decorate the shield.
- Carefully cut out the shield and straps.
- Glue holding straps to back of shield. Wide enough for your child’s arm.
Download the lesson for FREE