Welcome to part two of our Easter series. (Click here for part 1) In this lesson, we are going to focus on Good Friday and Easter today. The passage can again be found in all four gospels.

Easter – Lesson Guide
Helping children understand the crucifixion is a difficult thing. Many adults wonder how or even if to talk to their kids about Good Friday. The idea of Jesus dying is a difficult for grown-ups, never mind young children. Nevertheless, it is a fundamental truth of the gospel which can’t be overlooked. Our goal is to present it in an age appropriate but Biblically accurate way. You know your children!
Before you begin the lesson time, hide some envelopes around your room, house or garden. On the next page, you will find picture of the following items you can put inside. You can replace the picture with real items to make it even more interactive. Number the envelopes as follows:
| 1 – Coins | 6 – Ripped fabric |
| 2 – Cross | 7 – stone |
| 3 – Nail | 8 – cloth |
| 4 – Crown | 9 – empty envelope |
| 5 – Sponge |
Once your children find all the envelopes, you can begin to tell the story step by step. Open one envelope at a time.
Coins – Speak about how Judas was Jesus disciple, but he chooses to betray him for some coins. You could have some of your child’s favourite things and ask them how many sweets you could give them to swap them for that toy. Remind them, that you love them so much, there is nothing you would swap them for, but Judas choose to ‘swap’ Jesus for money.
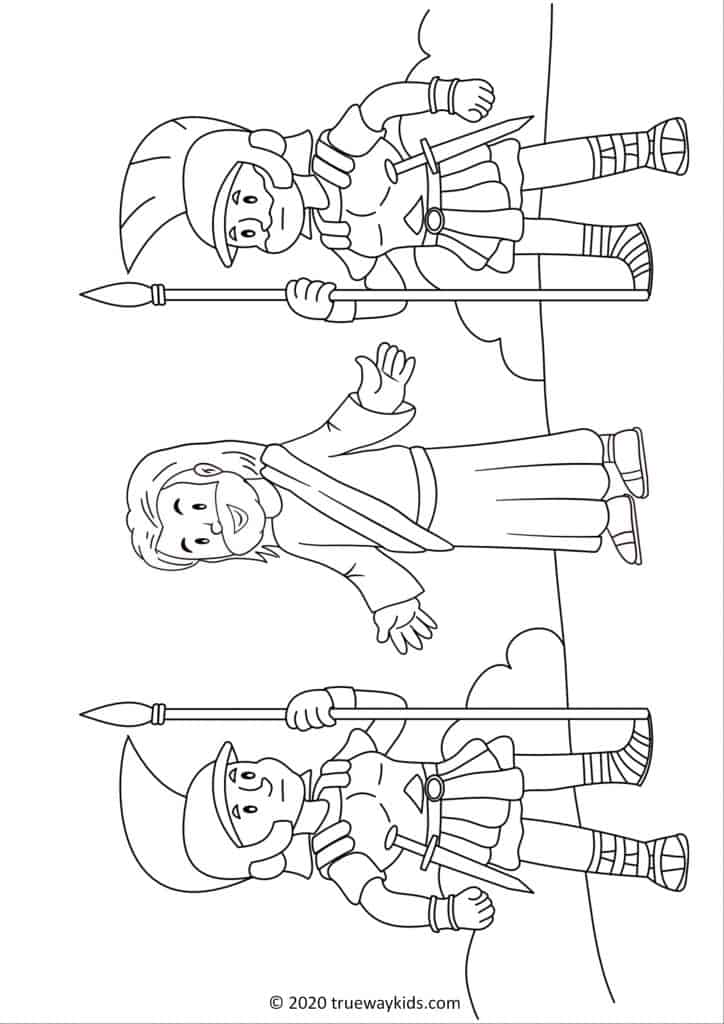
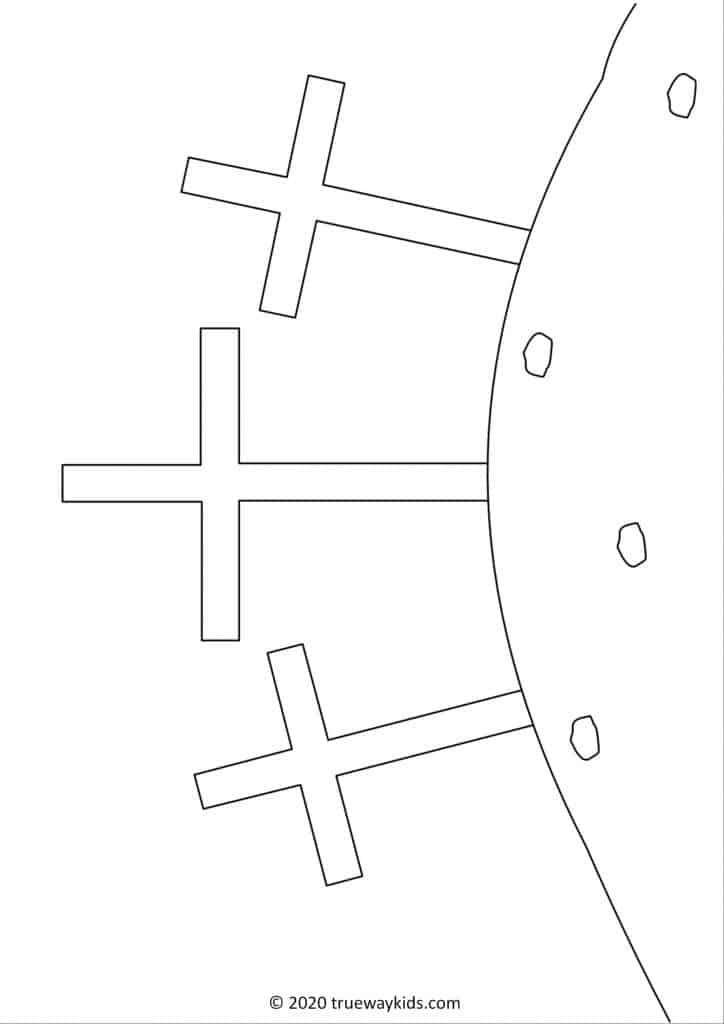
The Cross – Explain that the cross was a punishment for doing something really bad. Ask your child to give you suggested punishments for different things. For example, hitting your brother, telling a lie, stealing something and so on. Ask them what punishment you should give someone who did nothing wrong? Remind them Jesus lived a perfect life but was given the worst punishment and sentenced to death.
Nail – Explain how they nailed Jesus to the cross. But also remind them, that Jesus is all powerful. The nails couldn’t keep Jesus there. Jesus stayed there, because He wanted to take the punishment that the world deserved.
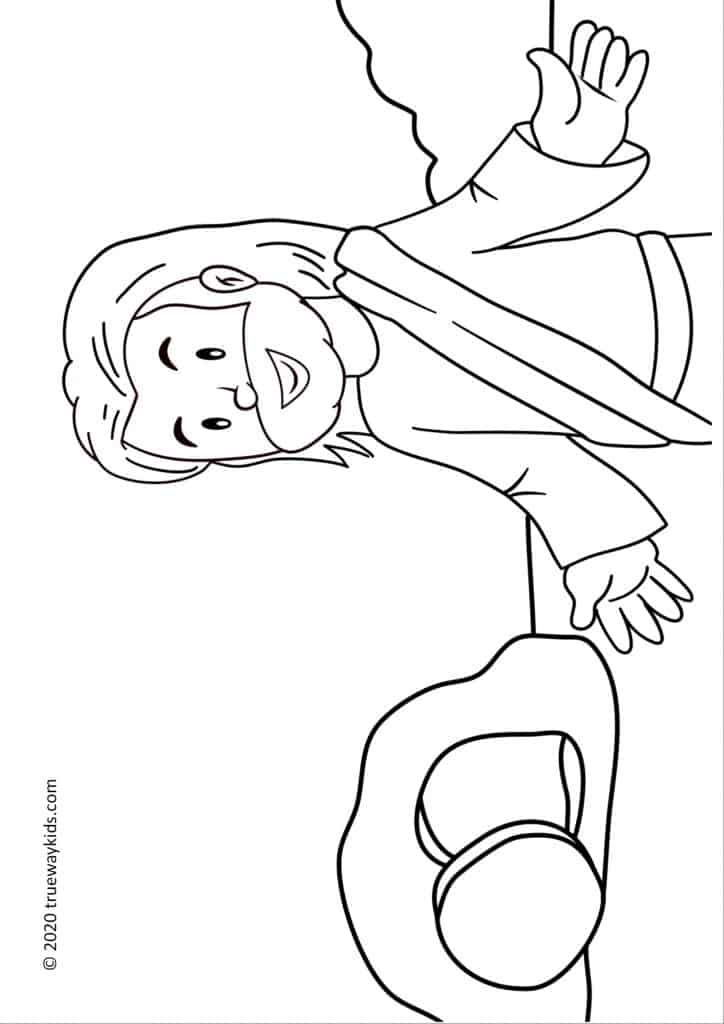
The crown – Remind your children that Jesus is the King. But when the Roman’s put a crown on Jesus, they were making fun of Him. Speak about how people still make fun and say bad things about Jesus because they don’t know better. Teach your children that Jesus prayed, “Forgive them, because they don’t know what they are doing.” Think of ways we can teach people Jesus is the true King.
The Sponge – Remind your child that Jesus was fully God but also fully human. Share that He felt hungry, tired, hurt and thirsty just like us. Say how He was offered a drink on a sponge.
The ripped fabric – Remind your children that sin separates us from God. Review the tabernacle or temple lessons and show how there was always a curtain that separated God from people. Speak about how the same time Jesus died, the temple cloth ripped top to bottom. Share how Jesus became the way for us to come back to God.
The stone – Share how they put a big stone to cover the tomb and guards outside to make sure nobody would steal His Body.
The Cloth – (A bandage would be perfect). Share how on Friday, they put Jesus in a tomb, but when the disciples arrive at the tomb on Sunday the stone was rolled away and there were folded clothes. Jesus was not there.
The empty envelope – Explain that the grave was empty. Jesus had risen, conquering sin and death. Remind them Jesus made the way for us to have eternal life and fellowship with Him.
Free Printable Easter Bible Story
Games and Activities
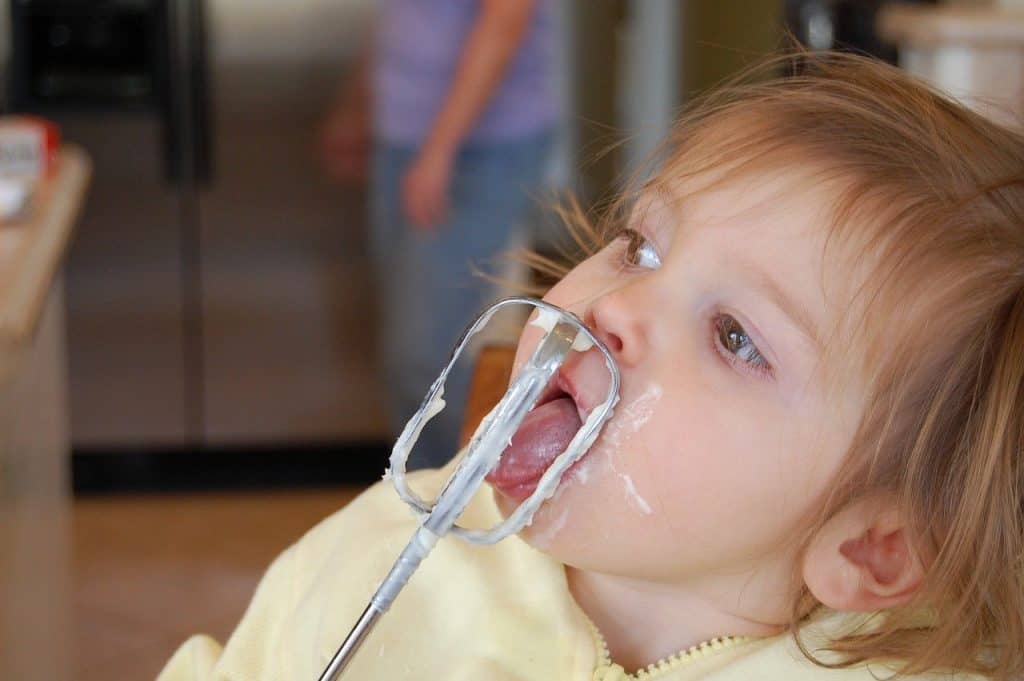
Empty Tomb Cookie / Resurrection Cookies
These cookies are a fun way to learn about the crucifixion and resurrection in a hands-on way for kids. The steps of the recipe teach important truths about Easter story.
There are a lot of recipes online available how to make these cookies so just search for the one would you like the best or use this link.

Masking Tape pictures
Put some masking tape on white paper in the shape of the cross. Let your children colour or paint all over the paper. When finished remove the masking tape to leave the shape of the cross.
You could also spell words such as Jesus or Easter with the tape and repeat the activity.
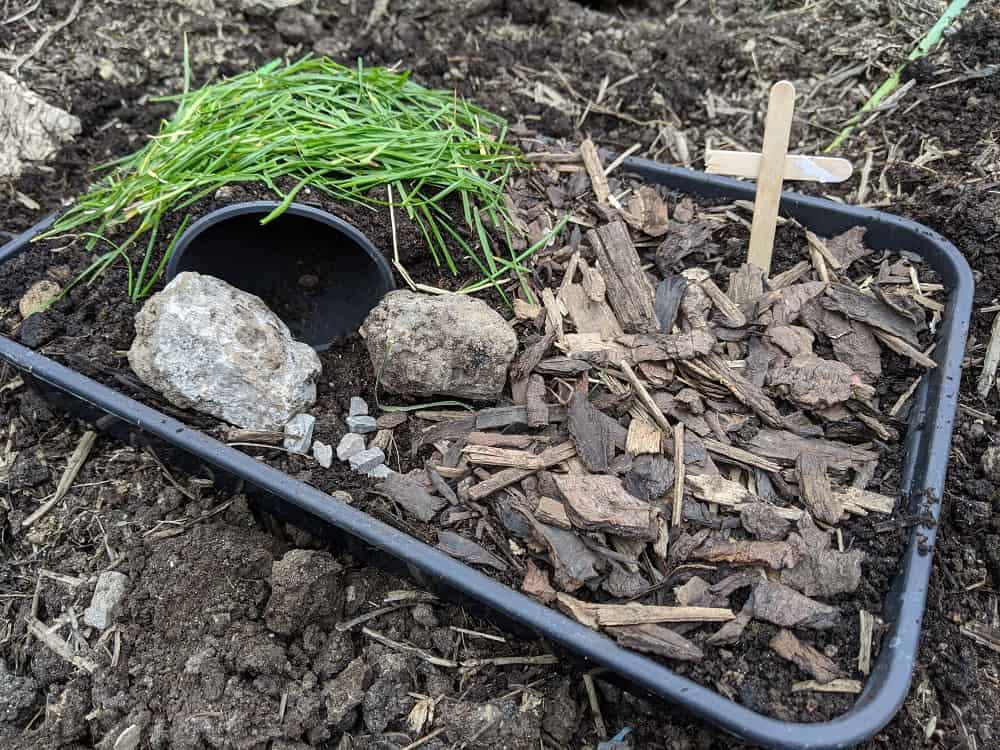
Easter Garden
An Easter Garden is a fun indoor or outdoor activity. You will need: A tray, a small plant pot, soil, two lollipop sticks, stones and nature items. Use the lollipop sticks to make a cross and a pot plant for the tomb. Place a large stone next to the tomb. Use your imagination for the rest.
Worksheets
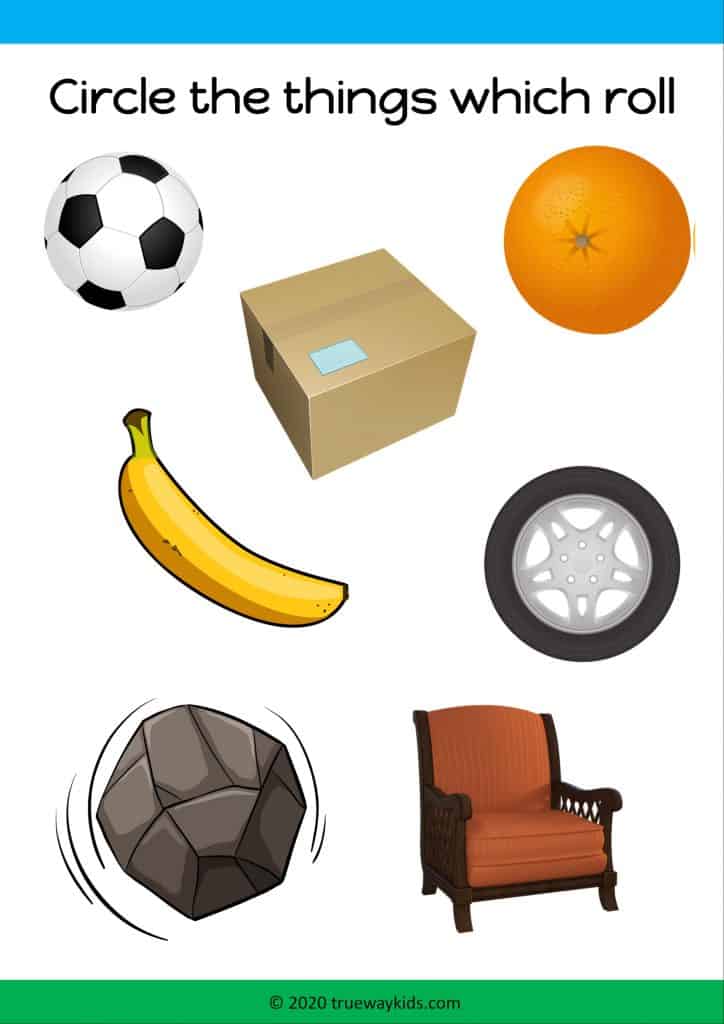
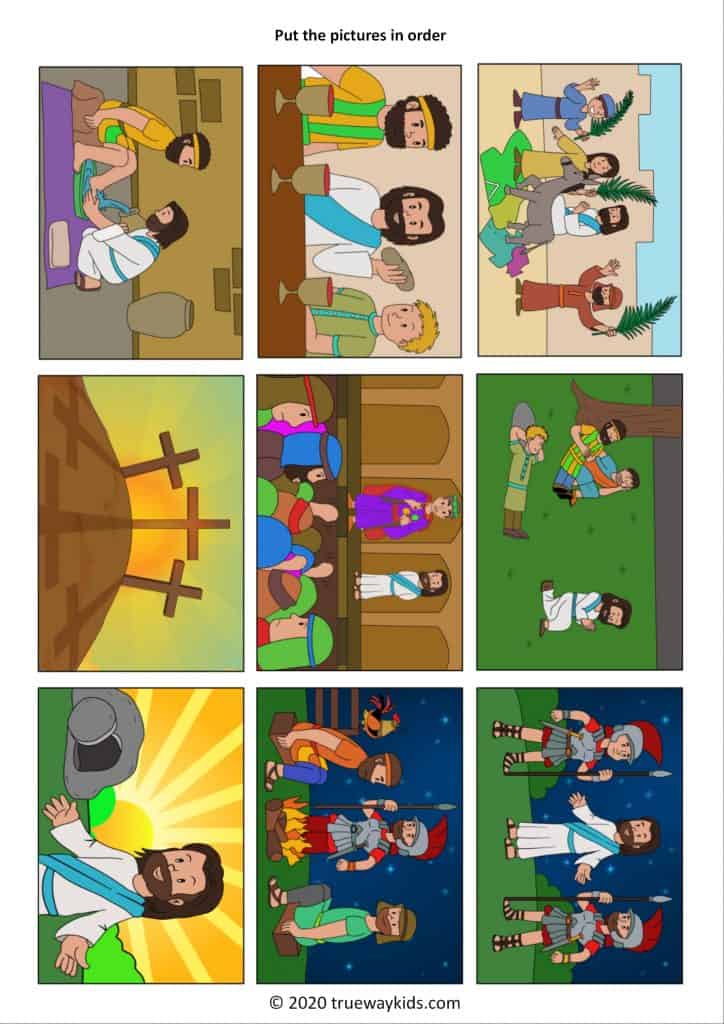
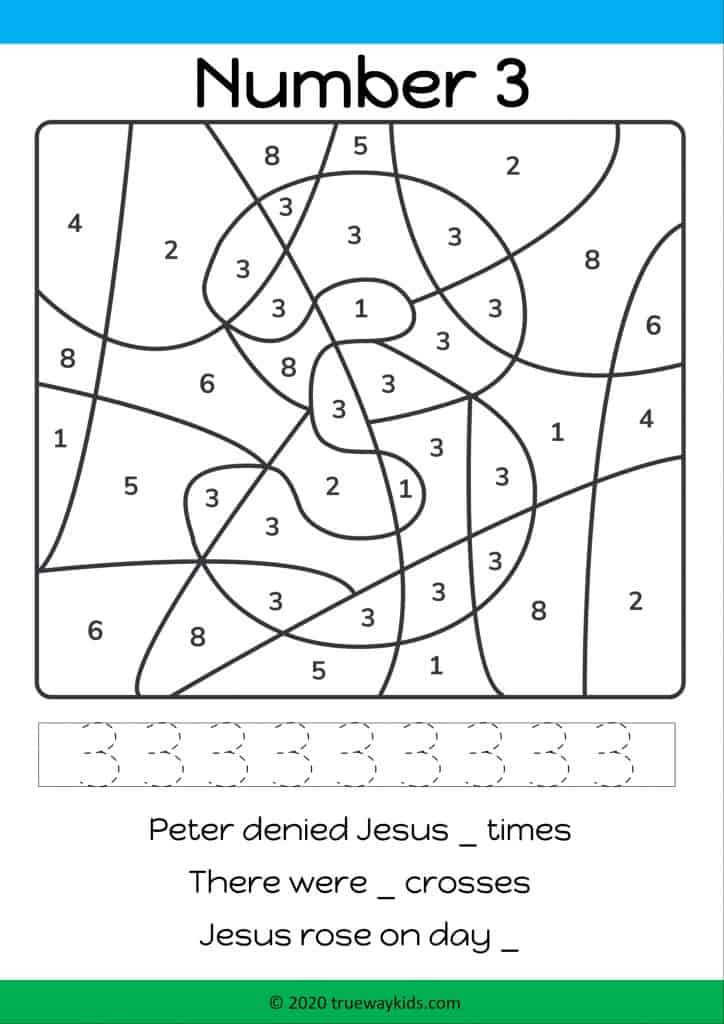
Easter Bible Coloring pages


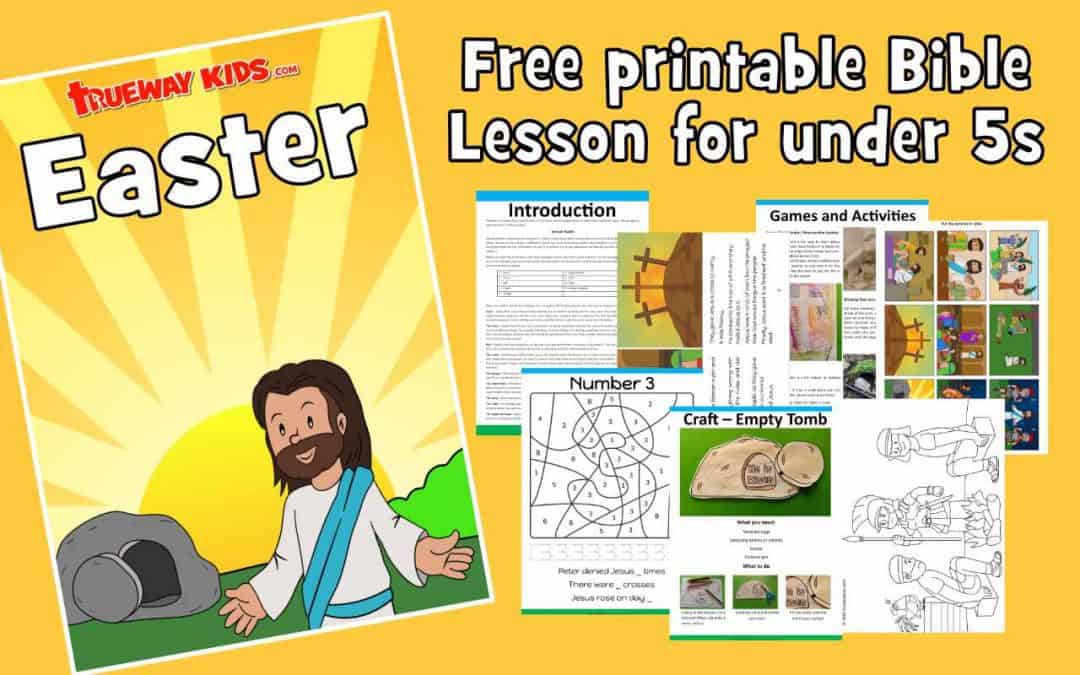
Craft – Empty Tomb with template
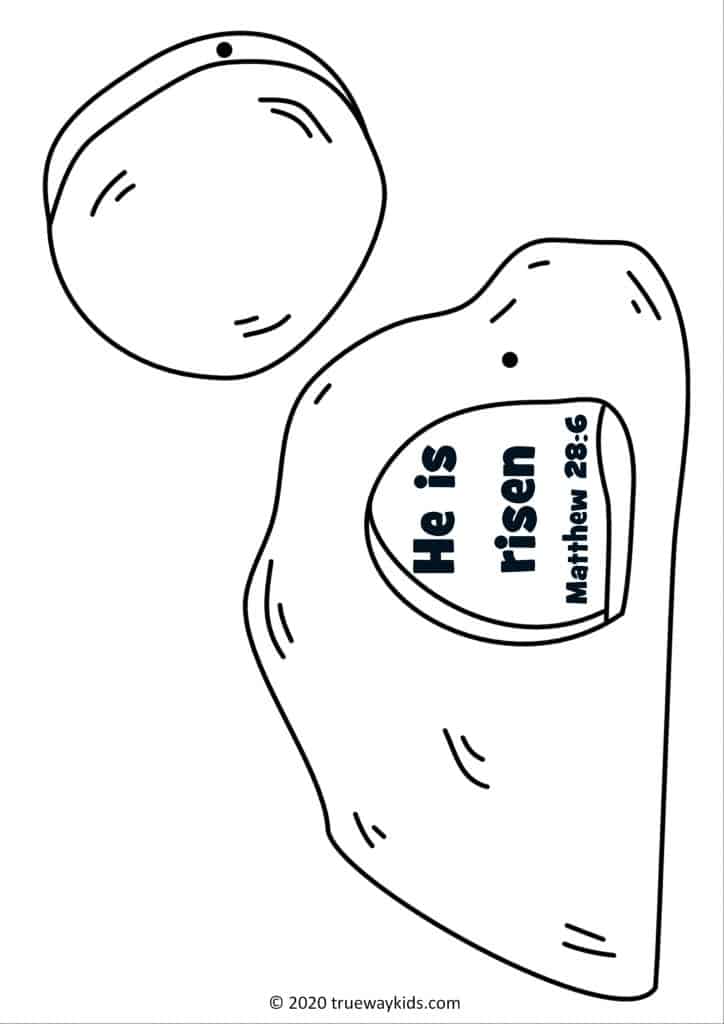
What you need:
- Template page
- Colouring pencils or crayons
- Scissor
- Fastener pin
What to do:
- Colour in the picture. For a textured effect, rub onto a stone surface.
- Carefully cut out the tomb and stone.
- Pin the stone onto the tomb were marked.
He is risen – Matthew 28:6
Recommended links and videos
Videos
- God’s Story: Easter – https://youtu.be/cZ4gQniUVO8
Songs
He’s Alive, He’s Alive—Yancy – https://youtu.be/N29pfecIiYE
He’s Alive! – https://youtu.be/0f0axB4GCC8
Happy Day – https://youtu.be/eaaEiniOLio
Download the lesson for free